|
|
|
|
Clawing Through Top Texture . Now this is a bit of a hard tutorial so if you have any trouble with it drop me a line and let me know where you get stuck. The original idea comes from a painting by the artist Jim Warren.
. 1) Open a new image 300X300 transparent. 2) Now fill
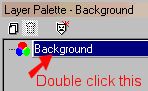
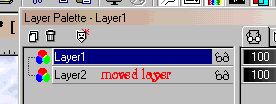
3) Then merge all (flatten), Then open your layer pallet and make the merged image a new layer by double clicking on it and clicking OK. It will now be called layer 1.
4) Now pick the image you want to come through and make a copy (Ctrl + C) and paste as new layer (Ctrl + L) on the first image and move it to where you want it to come through. Note: An image with clawed hands would be best if you have one.
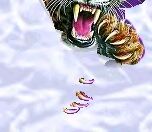
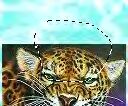
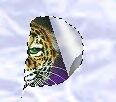
5) Now with the first image as active, Like this 6) With the area selected go to Image + filters + Mac's Page curl. And have it curl back the textured image to open the area to show through.
Continue to do this until all areas you want through are showing except claws or fingers or whatever needs to be through in another area. (Claws in this case.)
7) Now lets clean it up and add the touches like the ear's so it looks like it coming through. Move the #1 Now with the erase tool
8) Now lets do the claws (move the #1layer back over
the #2 layer so you can see what to select) Now by using the erase tool
and going around each claw one at a time (you cant see what your removing
don't worry we will clean it up in the next step just make sure your only
erasing the law area zoom
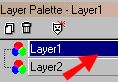
9) Now move the layer 2 over top of layer one in the layers pallet this will put the textured layer over the top of the image layer.
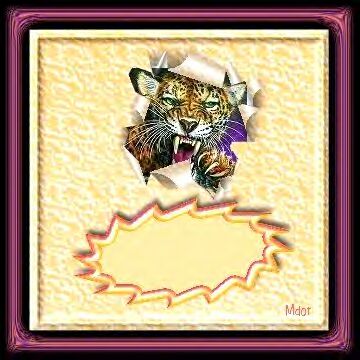
10) Now lets dress up the claw's so they look like
they've tore through the image. First finish erasing the textured area to
make the claws show through then using the airbrush tool
11) Now merge all (flatten) and crop
Copyright © 2000 by GandlfDrgn, all rights reserved
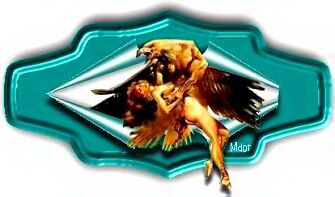
Here are a couple Tags made by one of our members using this tutorial! Great Job Mary!
|


 to
get this
to
get this 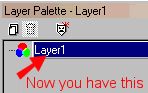
 used
this to get this
used
this to get this 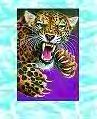
 you want to start selecting sections of the image you want to show
through. Use the freehand tool set on freehand. Note: You need to make
the area your opening larger then the area you want to show through so you
can see some of the curl.
you want to start selecting sections of the image you want to show
through. Use the freehand tool set on freehand. Note: You need to make
the area your opening larger then the area you want to show through so you
can see some of the curl.
 this
is showing what it will look like after you drag layer 2 under layer one.
this
is showing what it will look like after you drag layer 2 under layer one.
 See
next step to get ear's out!!!
See
next step to get ear's out!!!
 layer over the #2 layer
  so
you have it looking like the pic above.
so
you have it looking like the pic above.