|
The Coffin
You will find the dead girl tub attached HERE
1) Open new image 300X300 transparent 16.7 mil color. 
2) With the shape tool  set on rounded rectangle make a rectangle 100X150 filled. Now use the
magic wand
  and select the rectangle.
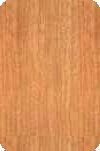
3) Open a wood texture and minimize it to the bottom.
Here is one if you don't have one. (right click to save to your hard
drive.)
 (rotate 90º after opening)
4) Now set the flood fill  tool to pattern and on the second tab select the wood image and flood fill
the rectangle.
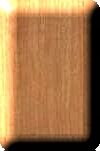
5) Now buttonize the rectangle with your favorite filter or the one in psp.
Make sure you use the ½ round bevel. I used the psp inner bevel set at
bevel ½ round, 15, 50, 12, 20, 40, 40, white, 315, 50, and 20. Deselect.
6) Now using the selection  tool draw a rectangle around the bottom edge of the rectangle and hit the
delete key on your key board.
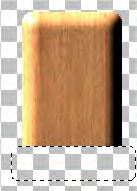
7) Now add a new layer and make another rectangle just like the one above
except cut the top edge off.
8) Now move the two pieces so that the cut edges are
together and the sides line up.
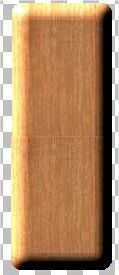
9) Now add another new layer and setting the shape tool on rounded
rectangle, stroked and line width 5 make a rectangle the size of the two
pieces.
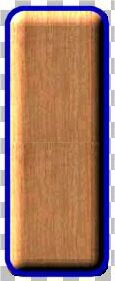
10) Now go to the layer pallet and click on the glass' next to layer 1 and
2 so the become invisible.
11) Use the magic wand  and select this new rectangle then flood fill
  it with the pattern and buttonize it. Deselect
12) Now using the magic wand  select the center of the rectangle and flood fill this with a satin or
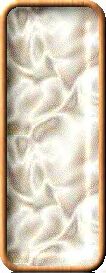
silk texture like this one. (right click to save to your hard drive.)
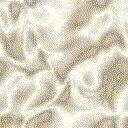
13) Now buttonize this using unlead
web plugin button designer any shape set at 16, 2, ½ round, 50, 0 and
pressed checked. Deselect. (if you don't have Ulead, any buttonizer will
work)
14) Then move layer 3 under layer one in the layer pallet then click on
the glass' next to layer 1 and 2 so they reappear and move layer 1 to the
top.
15) click on the deformation tool  and while holding the Ctrl key on your key board drag the bottom left
corner down 10 pixels then let go of the Ctrl key and drag the center left
to the right until the lid is only 50 pixels wide.

16) Now go to the layer pallet and click on layer 3.
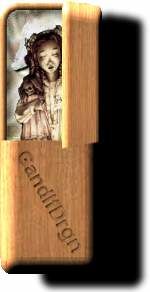
17) Now open the tube  of the body you would like in the coffin be it animal or person. Copy this
and paste it as a new layer then using the deformation tool resize it to
fit and place it in the right place then apply. Then merg + merg all
flatten and your done. Or add a name some personal touches then finish it
off.
Copyright © 2001 by GandlfDrgn,
all rights reserved
Tutorials By GandlfDrgn@AOL.com
This and all tutorials made by me are copyrighted and are the
sole property of GandlfDrgn. All graphics used in this tutorial
are property of there respective artist and I would like to give
them full credit and thanks. I give my permission to Ldy
Archrr aka Artists for PSP to place any and all tutorials
that I have made on her site.. this 18th day of October 2000. |

|